Autogenerating API documentation from OpenAPI
4 minutes read
Hahnbee Lee
Co-Founder
Share this article
Hahnbee Lee
Co-Founder
Share this article

This step-by-step tutorial demonstrates how to autogenerate beautiful API documentation from OpenAPI specifications using Mintlify, covering everything from spec generation to deployment. The guide walks through configuring OpenAPI in docs, using Mintlify's scraper to generate endpoint MDX files, and organizing API endpoints in the documentation sidebar for optimal user experience.
If you're using OpenAPI and looking for a quick and efficient method to create beautiful API documentation, you're in the right place.
Mintlify is a docs platform that transforms MDX files into beautiful documentation - but better yet, the platform also autogenerates API playgrounds, request and response samples, and more from OpenAPI specs.
Follow along for a step-by-step tutorial on how to turn your OpenAPI spec into API documentation on Mintlify.
Step 1: Generate your OpenAPI spec
The first step is to get an OpenAPI spec for your APIs. Luckily, if you're already using OpenAPI on other services, you've got this in hand.
Your OpenAPI spec can be in either JSON or YAML. You'll need to be using OpenAPI 3.0+, and if you're using an API service like Swagger or Stoplight, you should be able to export your OpenAPI file easily. Make sure your file passes the validator.
Step 2: Create a Mintlify docs deployment
Set up your Mintlify deployment here. It's an easy three step process that should only take a few minutes.
In the onboarding, you'll clone Mintlify's starter kit to create a GitHub repository to host your docs content. Mintlify will then deploy this repo into a documentation site.
Don't forget to install the GitHub app using the link on your dashboard so that all your updates are automatically deployed when you push changes to your repo.
Step 3: Configure your OpenAPI in the docs
Here's where your technical chops come in.
Clone your new docs repo from your Github and add your OpenAPI spec to the root folder (where the `mint.json` file is located). Then, navigate to the `mint.json` file and add the following to your JSON:
"openapi": YOUR_OPENAPI_FILE
If you have a URL that returns your OpenAPI file, you can also use the URL instead of adding the file to your docs.
From your OpenAPI spec, Mintlify renders an API page like this:

The playground allows users to test your API live. Configure the API playground to use your API URL.
{
"api": {
"baseUrl": YOUR_API_BASEURL,
"auth": {
"method": YOUR_AUTH_TYPE // “bearer”, “basic” or “key”
},
}
}
If you'd like to hide the API playground, add the following instead:
{
"playground": {
"mode": "hide"
}
}
Step 4: Autogenerate your endpoints
This is the moment we've been waiting for. Mintlify has a scraper that enables you to autogenerate your endpoint MDX files from your OpenAPI spec in seconds.
To use Mintlify's scraper, apply the relative path to the OpenAPI file in your codebase.
npx @mintlify/scraping@latest openapi-file <path-to-openapi-file>
If you are hosting your Open API file at a URL, try copying the contents into an openapi.json or openapi yaml file in your codebase to run the scraper once. You can delete the file later.
To specify which folder you would like your files to populate, you can manually add -o flags to your preferred folder. If unspecified, your files will populate into the current folder.
npx @mintlify/scraping@latest openapi-file <path-to-openapi-file> -o api-reference
You'll see an MDX file be created for each endpoint in your OpenAPI spec. If you open the file, you'll only see page metadata at the top, but rest assured the API doc features will show up when deployed.
Note that if you add more endpoints, you'll need to create MDX files for them, but any changes to existing endpoints will be automatically reflected.
Step 5: Showcase your API
Organize the API endpoints in your docs sidebar by adding them to the `navigation` field of the `mint.json` file. Here's an example:
"navigation": [
{
"group": "API Reference",
"pages": [
"api-reference/get-user",
"api-reference/create-user",
"api-reference/update-user",
"api-reference/delete-user",
]
}
],
You can use different sections, tabs, and folders to make your API docs user-friendly and accessible.
Pro tip: Copy the output of the Mintlify scraper into your navigation field so you don't need to type the file names.
Preview your changes using Mintlify's CLI. Simply run:
npm i -g mintlify // for npm install
yarn global add mintlify // for yarn install
mintlify dev
When you're ready, push to git and see your changes live.
Wrapping Up
This concludes our step-by-step guide on autogenerating beautiful API documentation with an OpenAPI spec.
The best part: Mintlify docs pages are automatically SEO-optimized and highly searchable, so you don't need to fuss over the details. Instead, you can focus on the quality of your product and high-level improvements to make your docs truly stand out.
In addition to creating API specs, Mintlify makes it easy to add and maintain docs content, from user guides to onboarding steps and product references. Upgrade your API docs with a quickstart that helps users get set up as fast as possible.
Get started now to autogenerate your API docs with Mintlify.
More blog posts to read

How Claude Code's documentation team makes feedback actionable with Mintlify
Anthropic's Technical Content Engineer for Claude Code shares how she uses Mintlify and Claude to automate documentation improvements from user feedback.
June 25, 2026Ethan Palm
Technical Writing
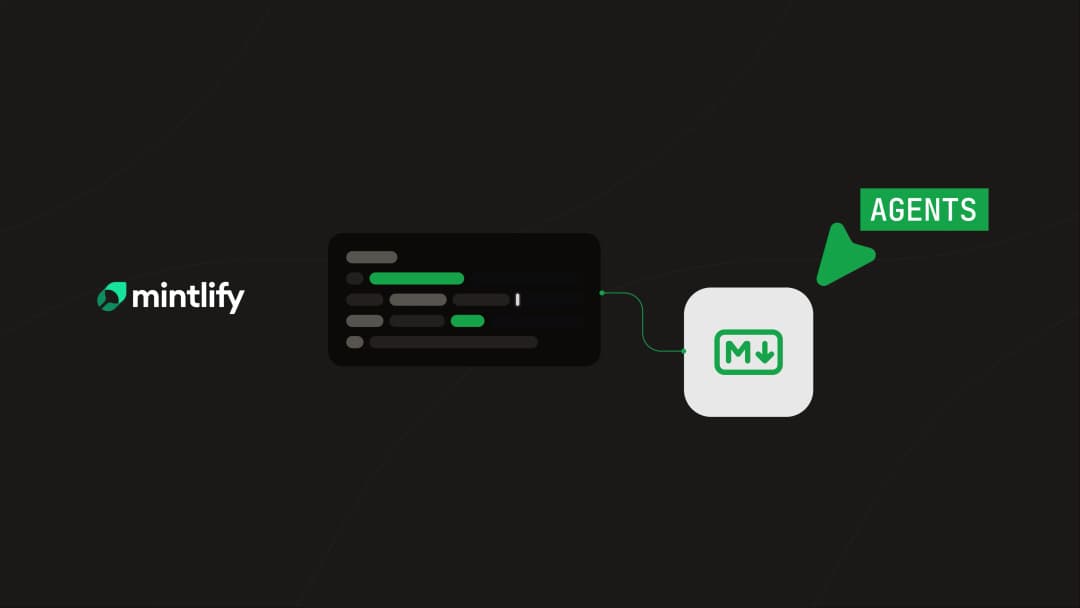
Docs as an abstraction layer for coding agents
A large engineering org ran controlled experiments to measure how structured Mintlify docs affect agent performance on massive codebases. The results: 64% more precise, 39% more discoverable, half the tokens, 1.5x faster.
June 8, 2026Han Wang
Co-Founder